Running Synology DSM (Xpenology) on Proxmox
Easy way I have found to run the Synology DSM (DiskStation Manager) inside of proxmox. Runs super well, very smooth and very good file transfer speeds.
Requirements
- A Proxmox server
- An internet connection
Steps
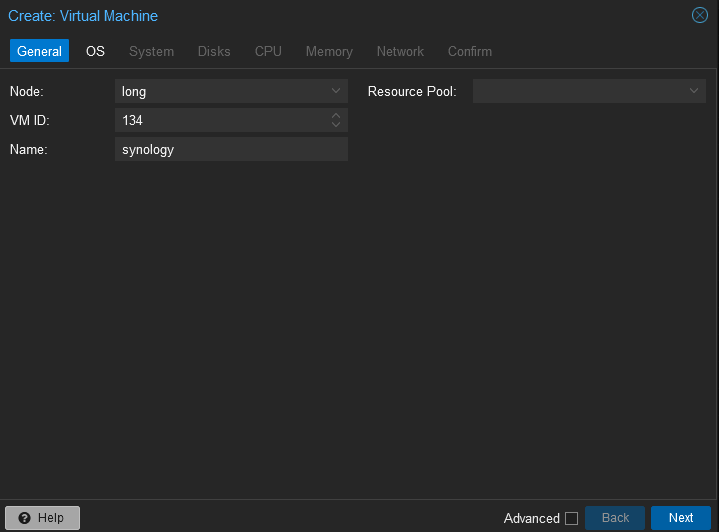
Start by creating a VM with whatever name you would like:
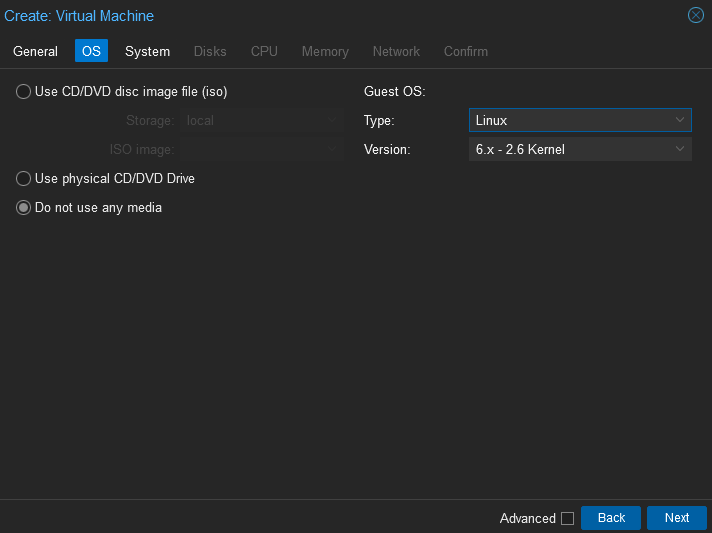
Choose “Do not use any media”:
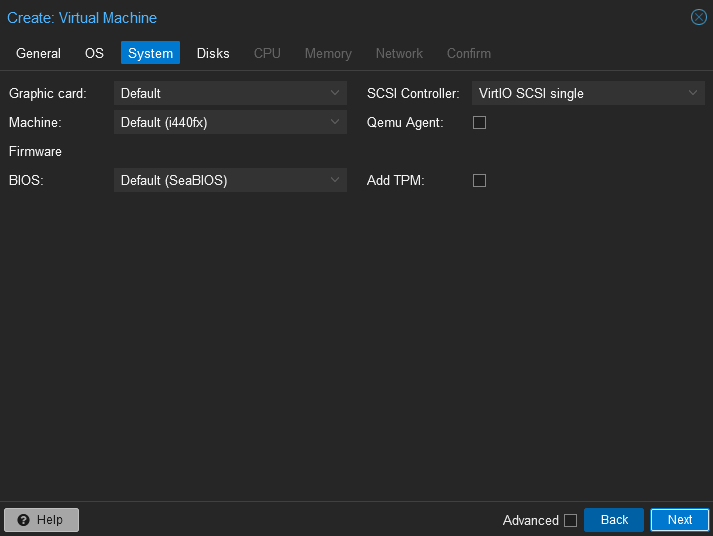
Leave the system tab default:
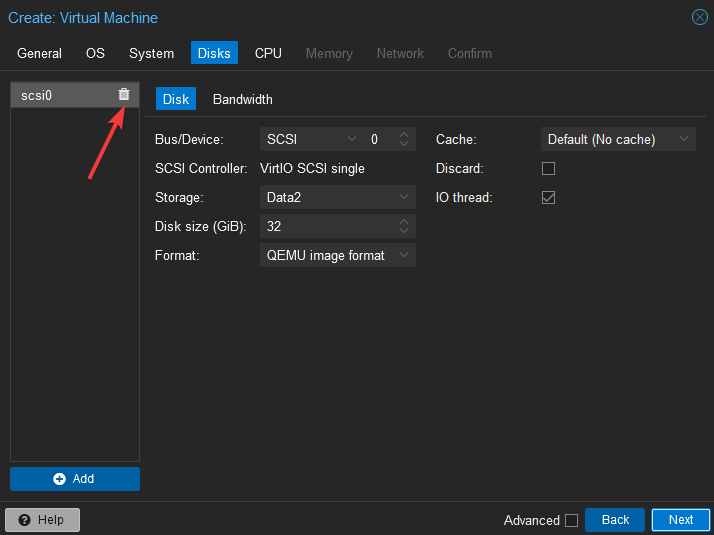
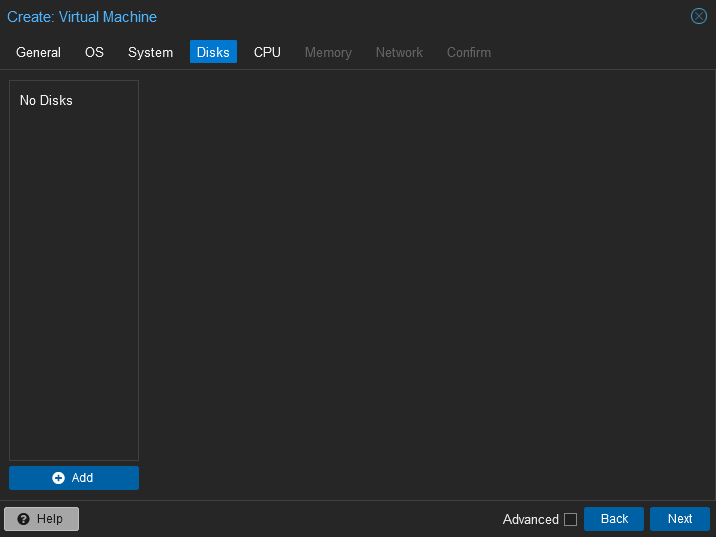
Remove the disk thats there:
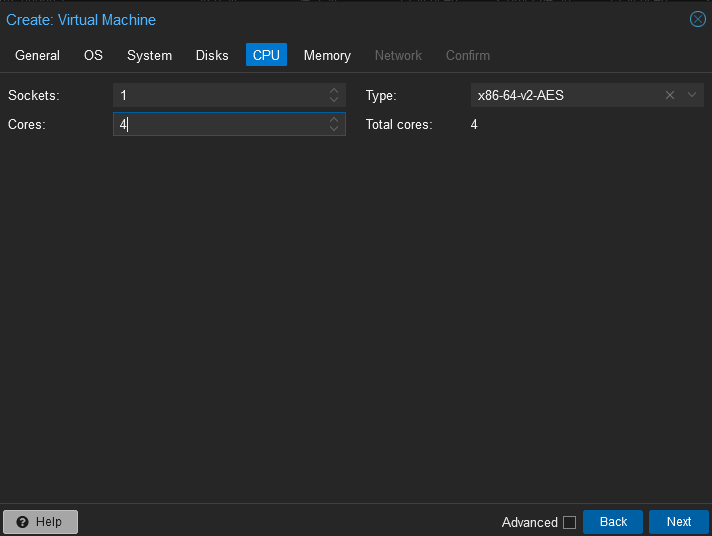
Choose however many CPU cores you would like to allocate to it. I will allocate 4:
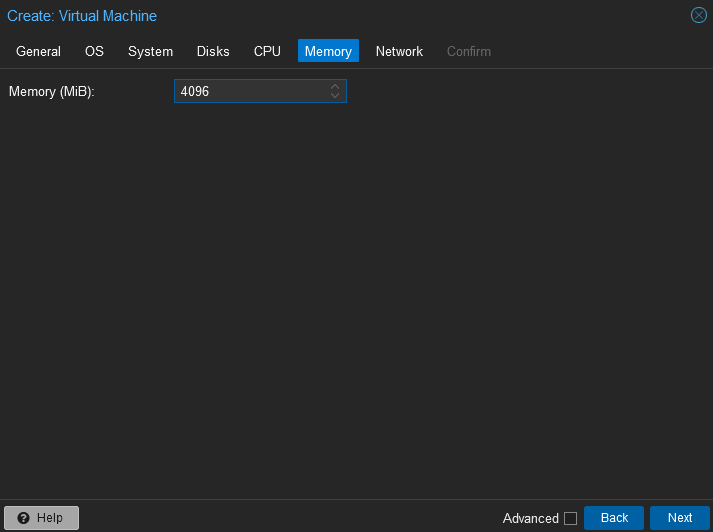
Choose how much RAM you would like to allocate to it. I will allocate 4GB:
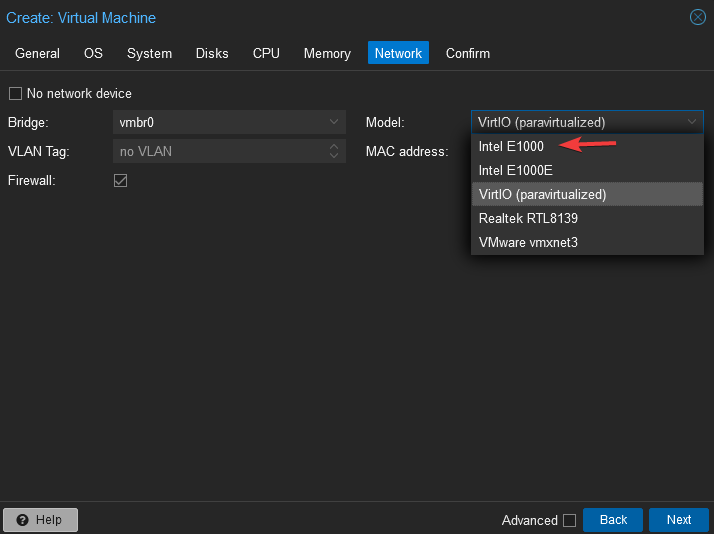
Change the network adapter model from VirtIO to Intel E1000, tag your VLAN if needed, and enable/disable firewall if needed:
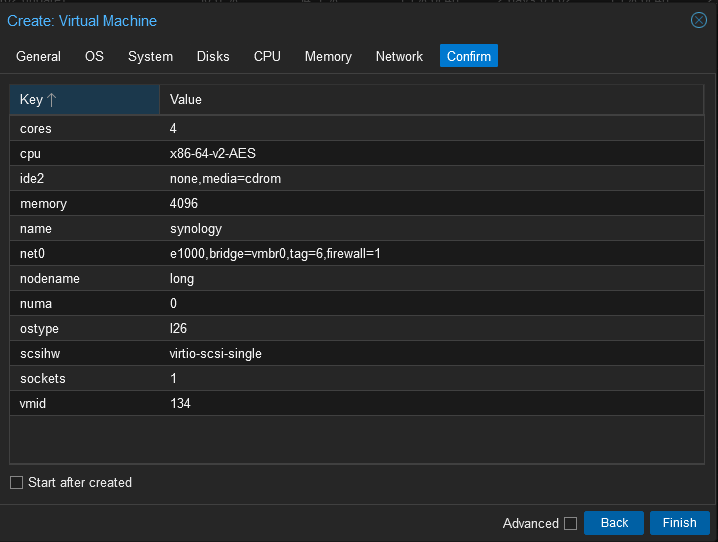
Final settings - Select “Finish”:
Now, on your computer (not on server) go to:
https://github.com/AuxXxilium/arc/releases/latest
And download arc-VERSIONNUMBER.img.zip, and unzip it
You will have arc.img
Then navigate to where your ISO image storage is. For default installations, this is under “local”, select your arc.img and upload:

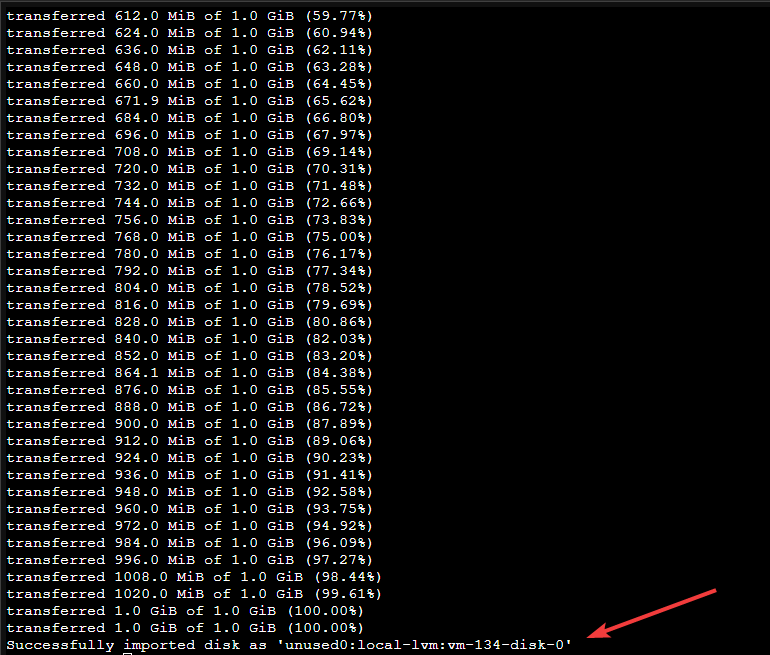
Once completed, put this command in your proxmox hosts’ shell:
1
qm importdisk <VMID> /var/lib/vz/template/iso/arc.img <STORAGE WHERE THE BOOT DISK WILL BE LOCATED>
For example
1
qm importdisk 134 /var/lib/vz/template/iso/arc.img local-lvm
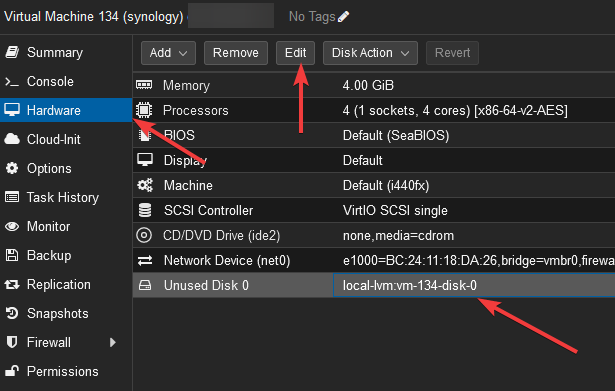
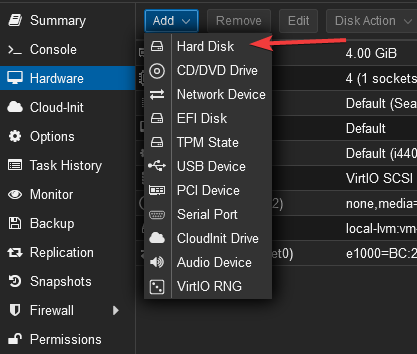
Once completed, go into the VM settings and select the “Unused Disk 0” –> Edit:
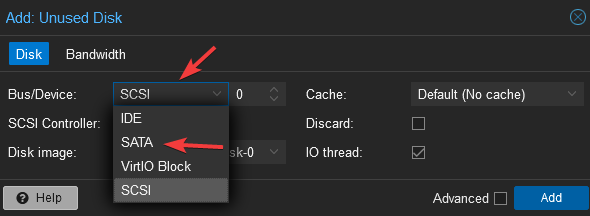
Change the option from SCSI to SATA and click “Add”:
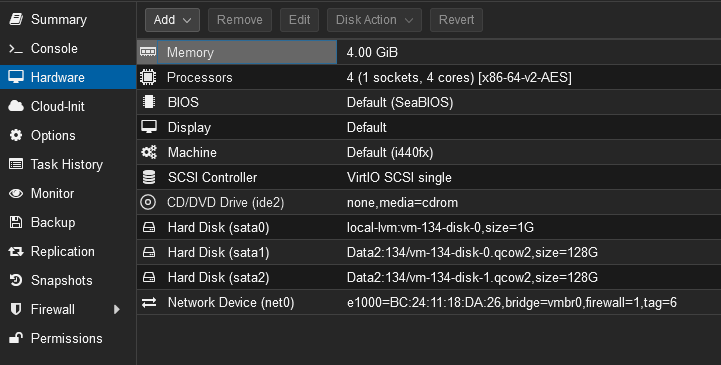
Now, we can add our data drives (Storage that your files will actually be stored on)
You can either pass through a whole drive/controller (if you know what that is then you should be able to do that yourself), or just use an emulated drive through QEMU, where its stored on your Proxmox servers storage
For this example, I will add 2x 128GB drives, that are stored on my Proxmox storage pool “Data2”:
Ensure that SATA is selected! Select “Add”:

Repeat for as many drives as you need
My final configuration:
Now, go to Options –> Boot Order –> Edit:
Untick all drives EXCEPT sata0 (the 1GB one)
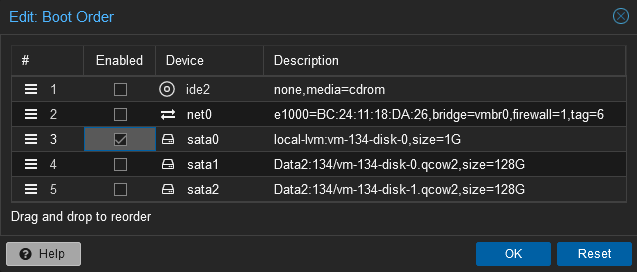
Then click “Ok” to save
Now, Start the machine and go to console.
Let it boot into “Arc Config”
Once its done booting:
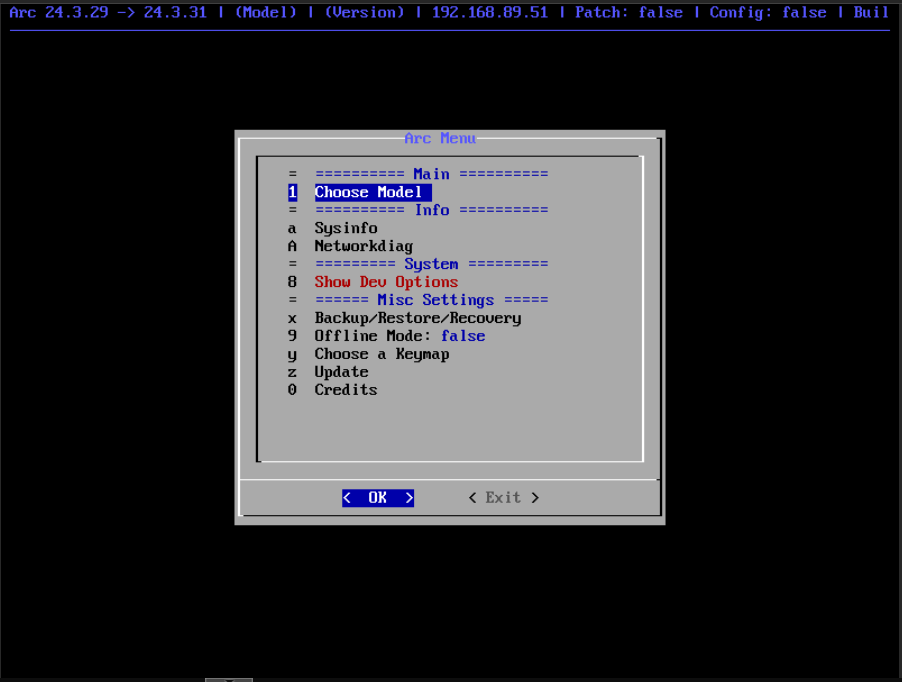
Select “Choose Model”
Now select which NAS model you would like to emulate. I will choose the DS920+
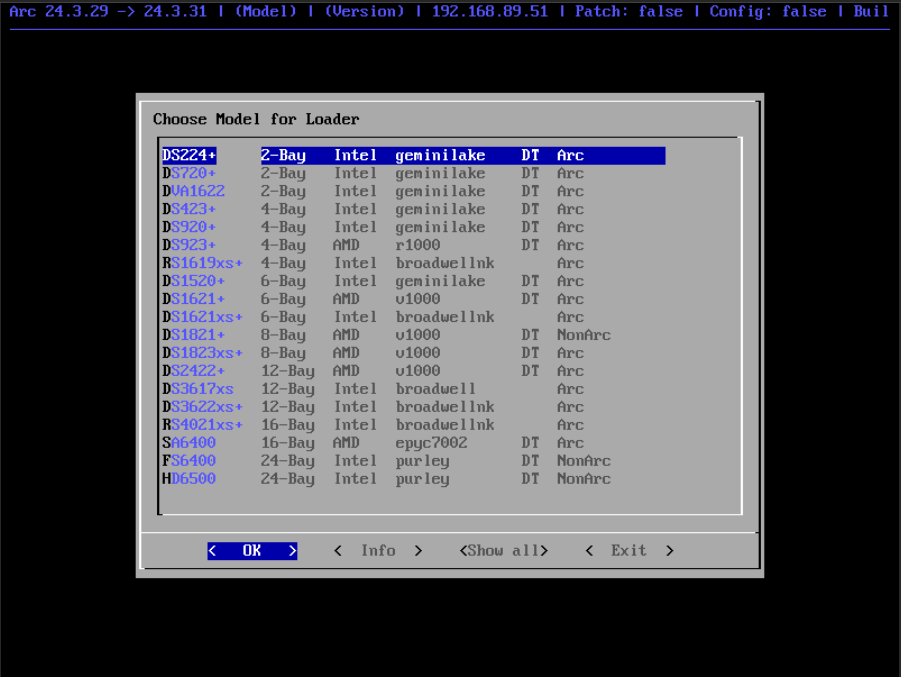
(You can choose whichever one suits your usecase, If it says Arc on the right, means it has online patch (synology account, etc..))
Select the latest version when prompted
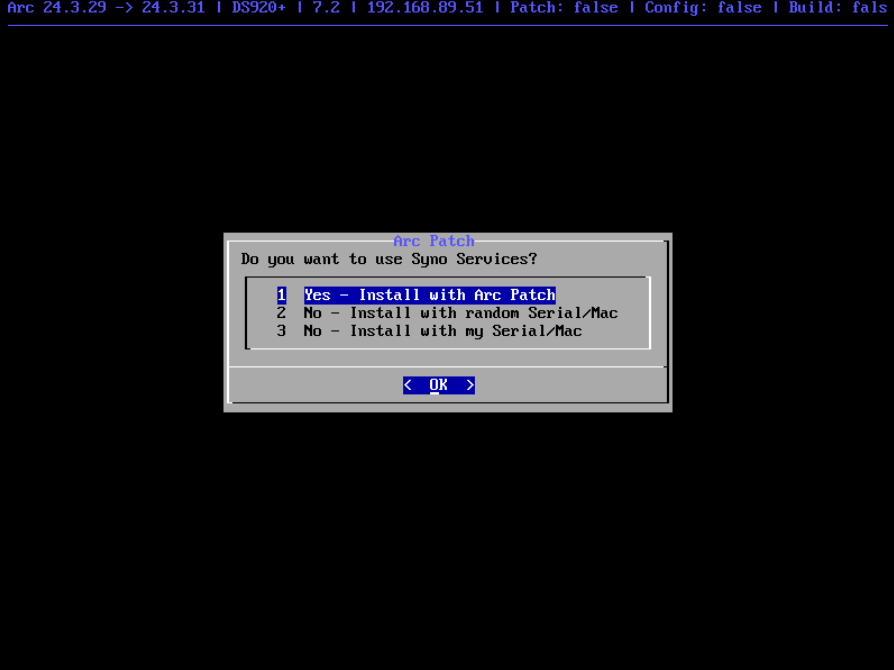
Select Yes for online patch (if needed):
Use the Hardware option for Macsys Setting when prompted
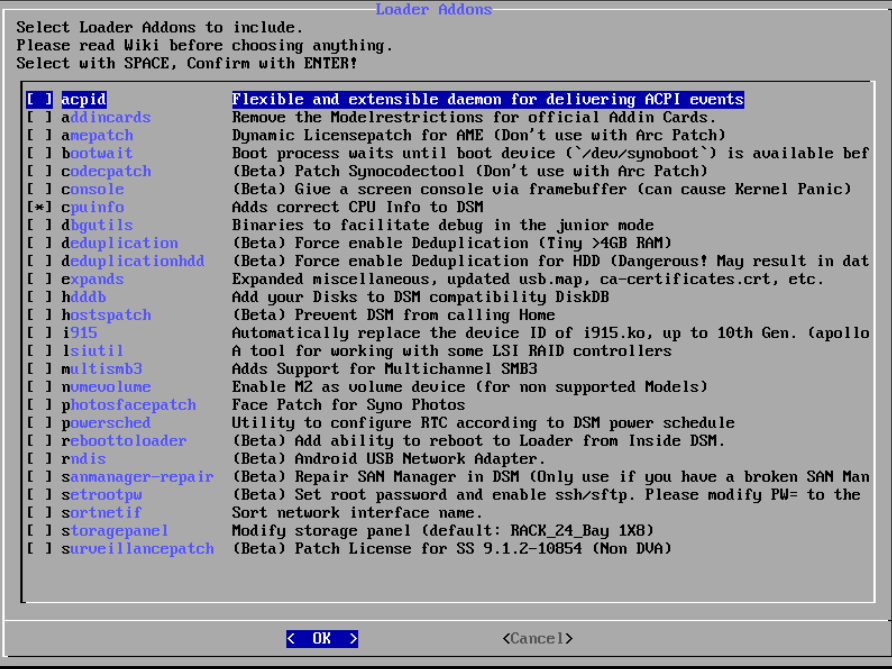
Leave the addons default:
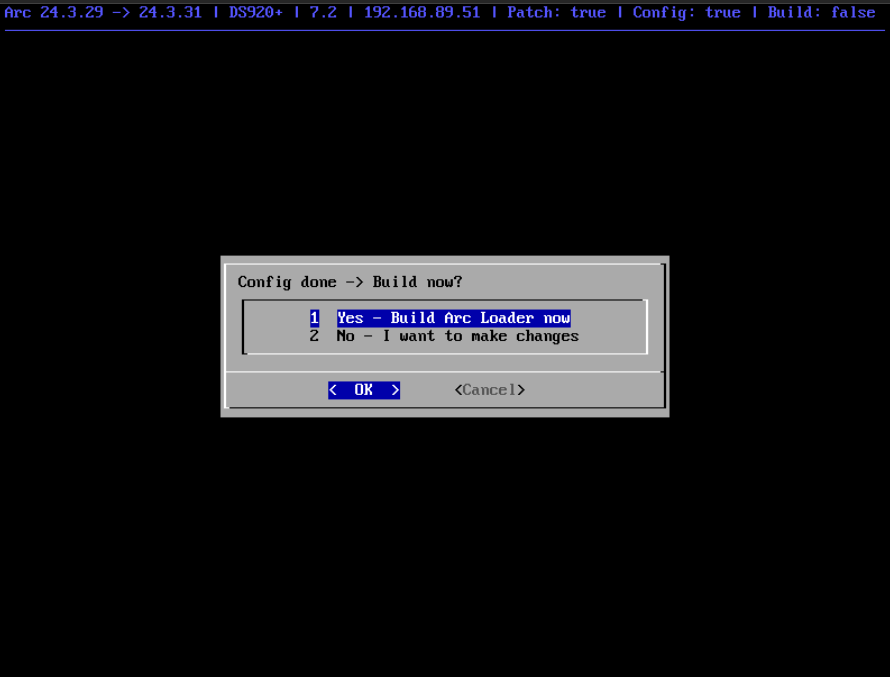
Select “Yes - Build Arc Loader now”:
Then “OK” to confirm when it shows “Config Summary”
“OK” To confirm the loader download:
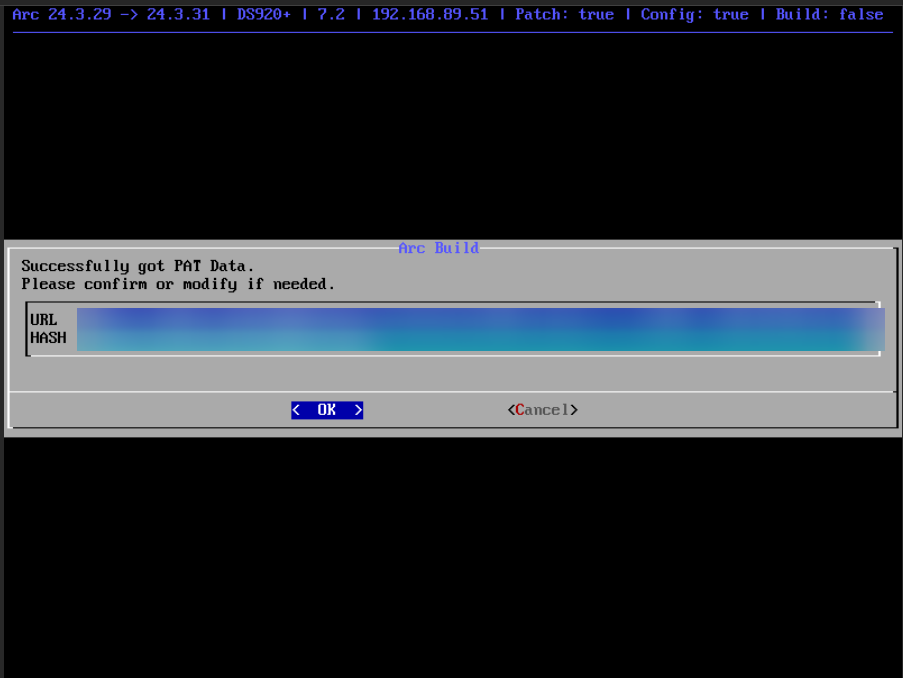
Then “OK” for “Boot Arc Loader now”
After a few minutes, it will boot and you will see this:
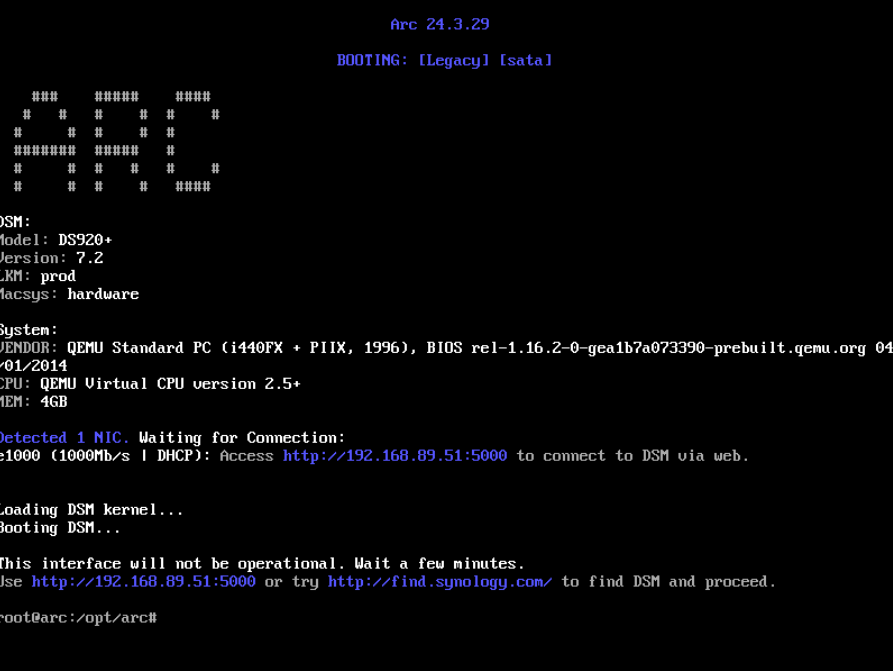
Go to the local IP address shown
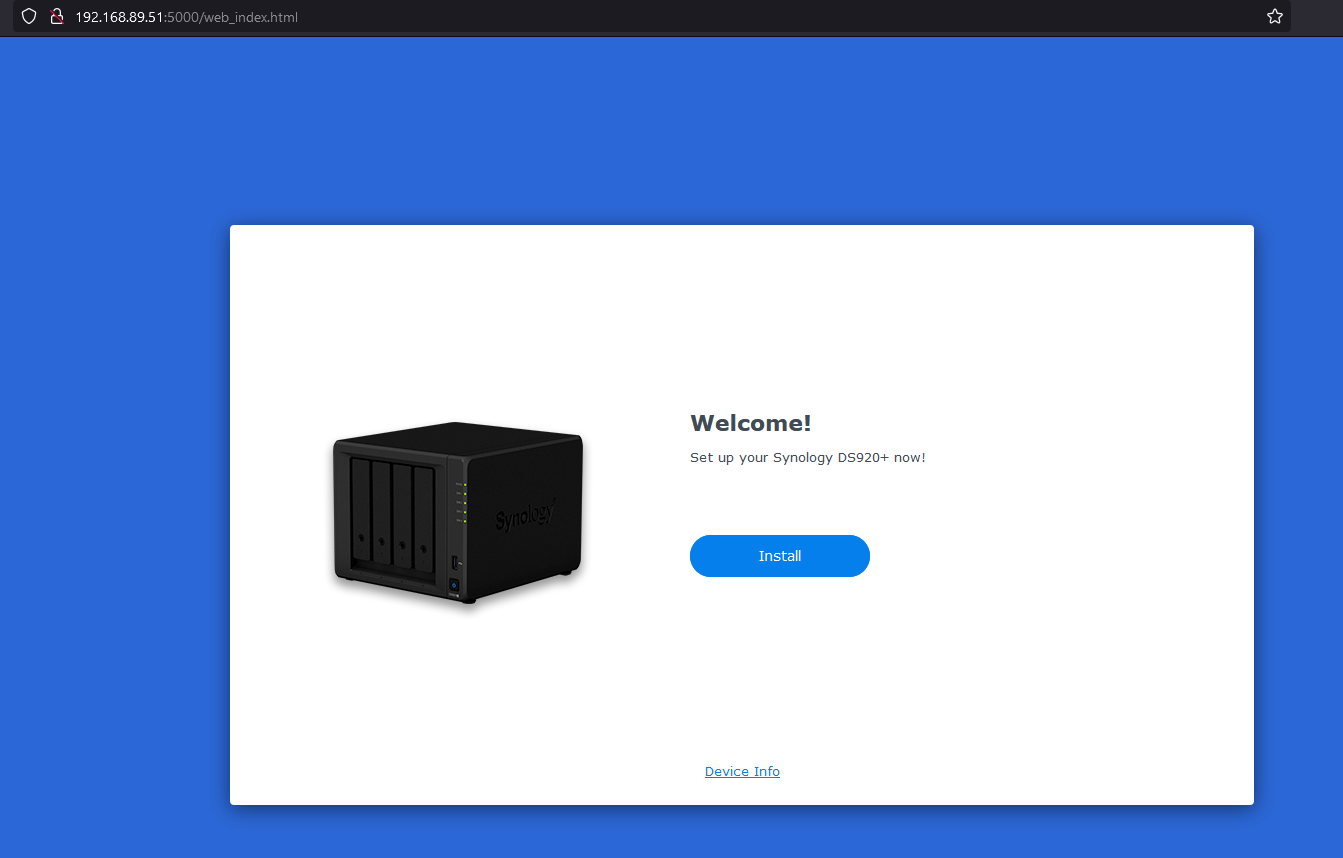
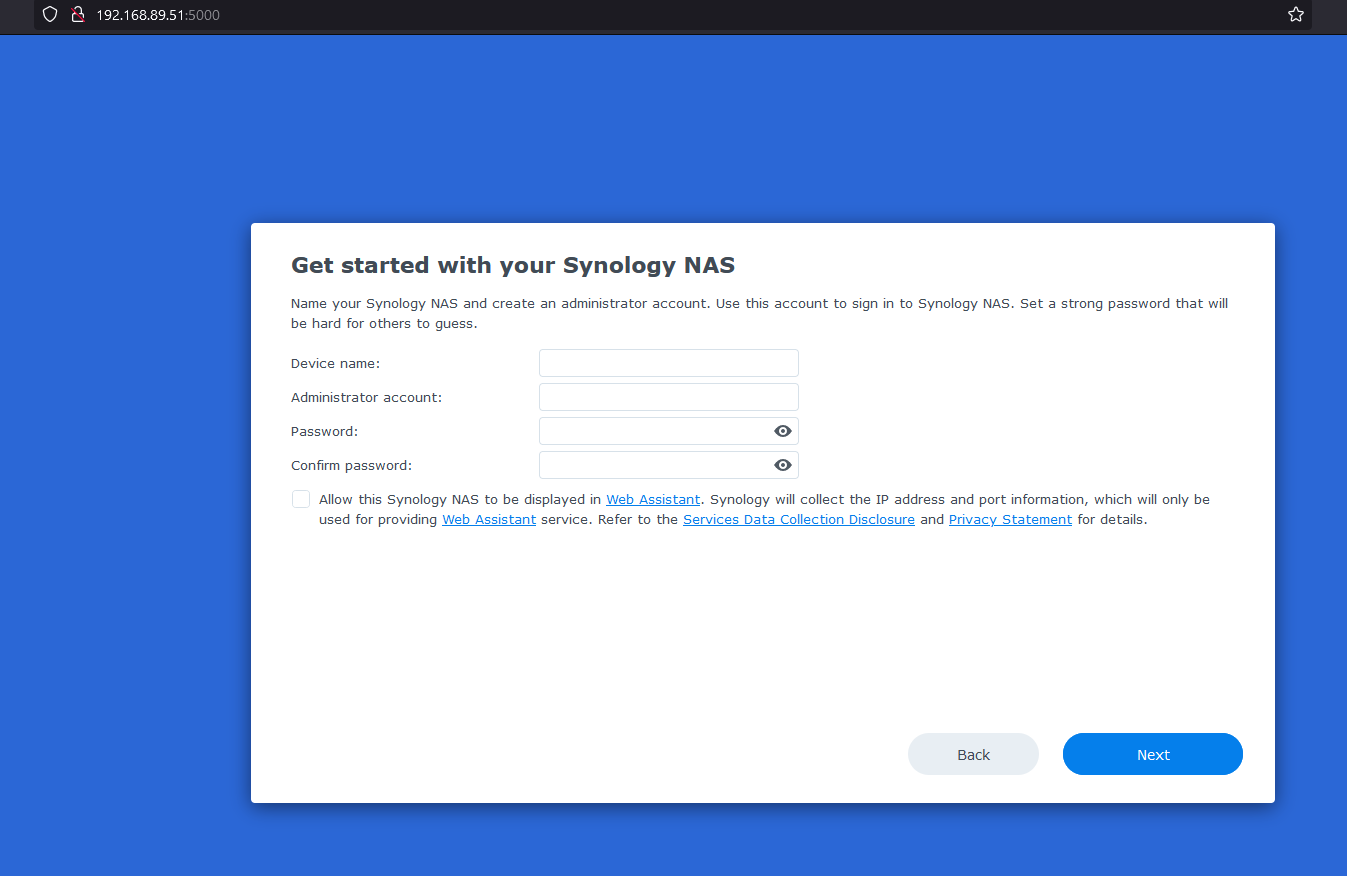
And you are done! Install the system as usual through the WebUI
Have fun! o( ̄▽ ̄)ブ